Welcome to the Orsum.Work quick start guide. To get started, we'll need to get you registered. Just follow the steps below:
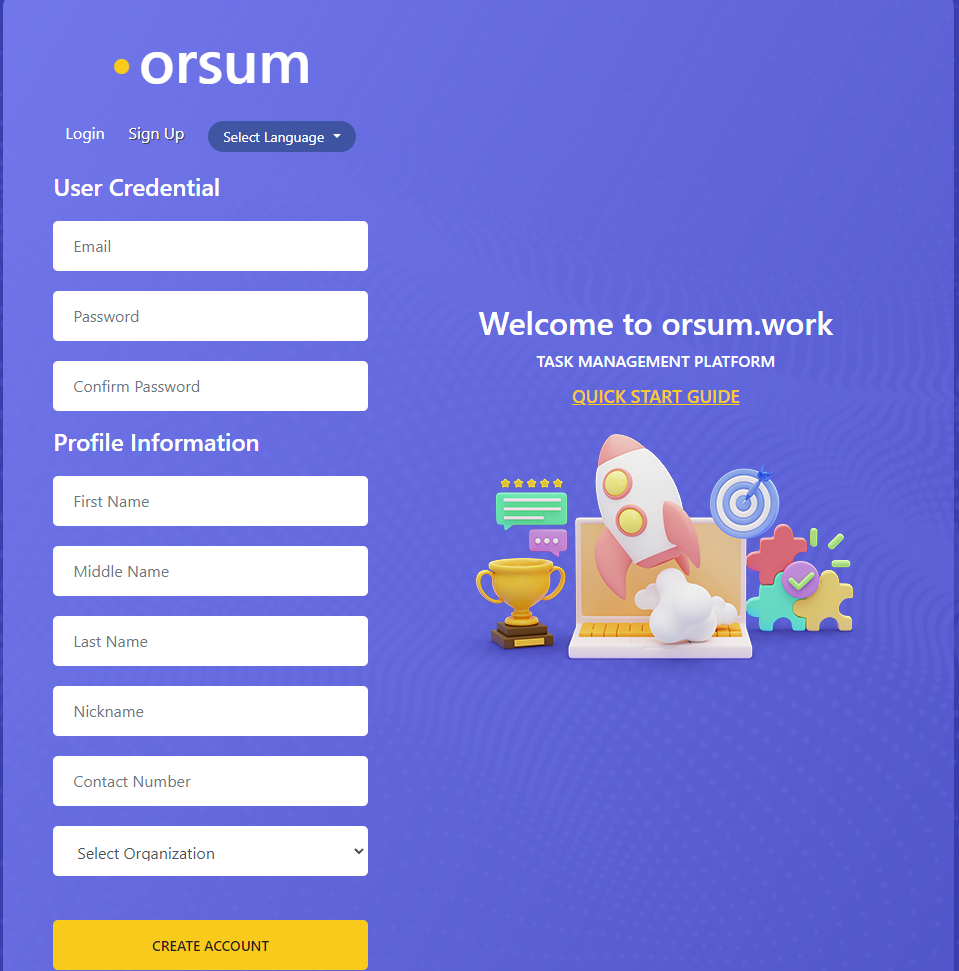
- First, click Sign Up. This will make the Sign Up page appear
- Next, input your User Credentials (email and password)
- Now you;ll need to input your Profile Information. You can change this later on the Profile screen.
- Finally, select an organization. If you decide to create a new organization, you will become an admin for it. If you want to be part of an existing organization, you'll need to be approved by an admin. You'll get a confirmation email once you're approved and then you can go ahead and log in
Once you've logged in, it's time to start using the tool. Following are a few tips on how to get going on some projects and tasks. Before you do that, though, it's important to know the difference between admin rights and general user rights
There are two types of admins: Organization Admins and Project Admins. Organization Admins can see reports for the entire organization. Project admins can see reports for the entire project. Normal users can see reports for themselves only. (There's more on reporting later, so stick around!
Alright, let's get into creating a project:
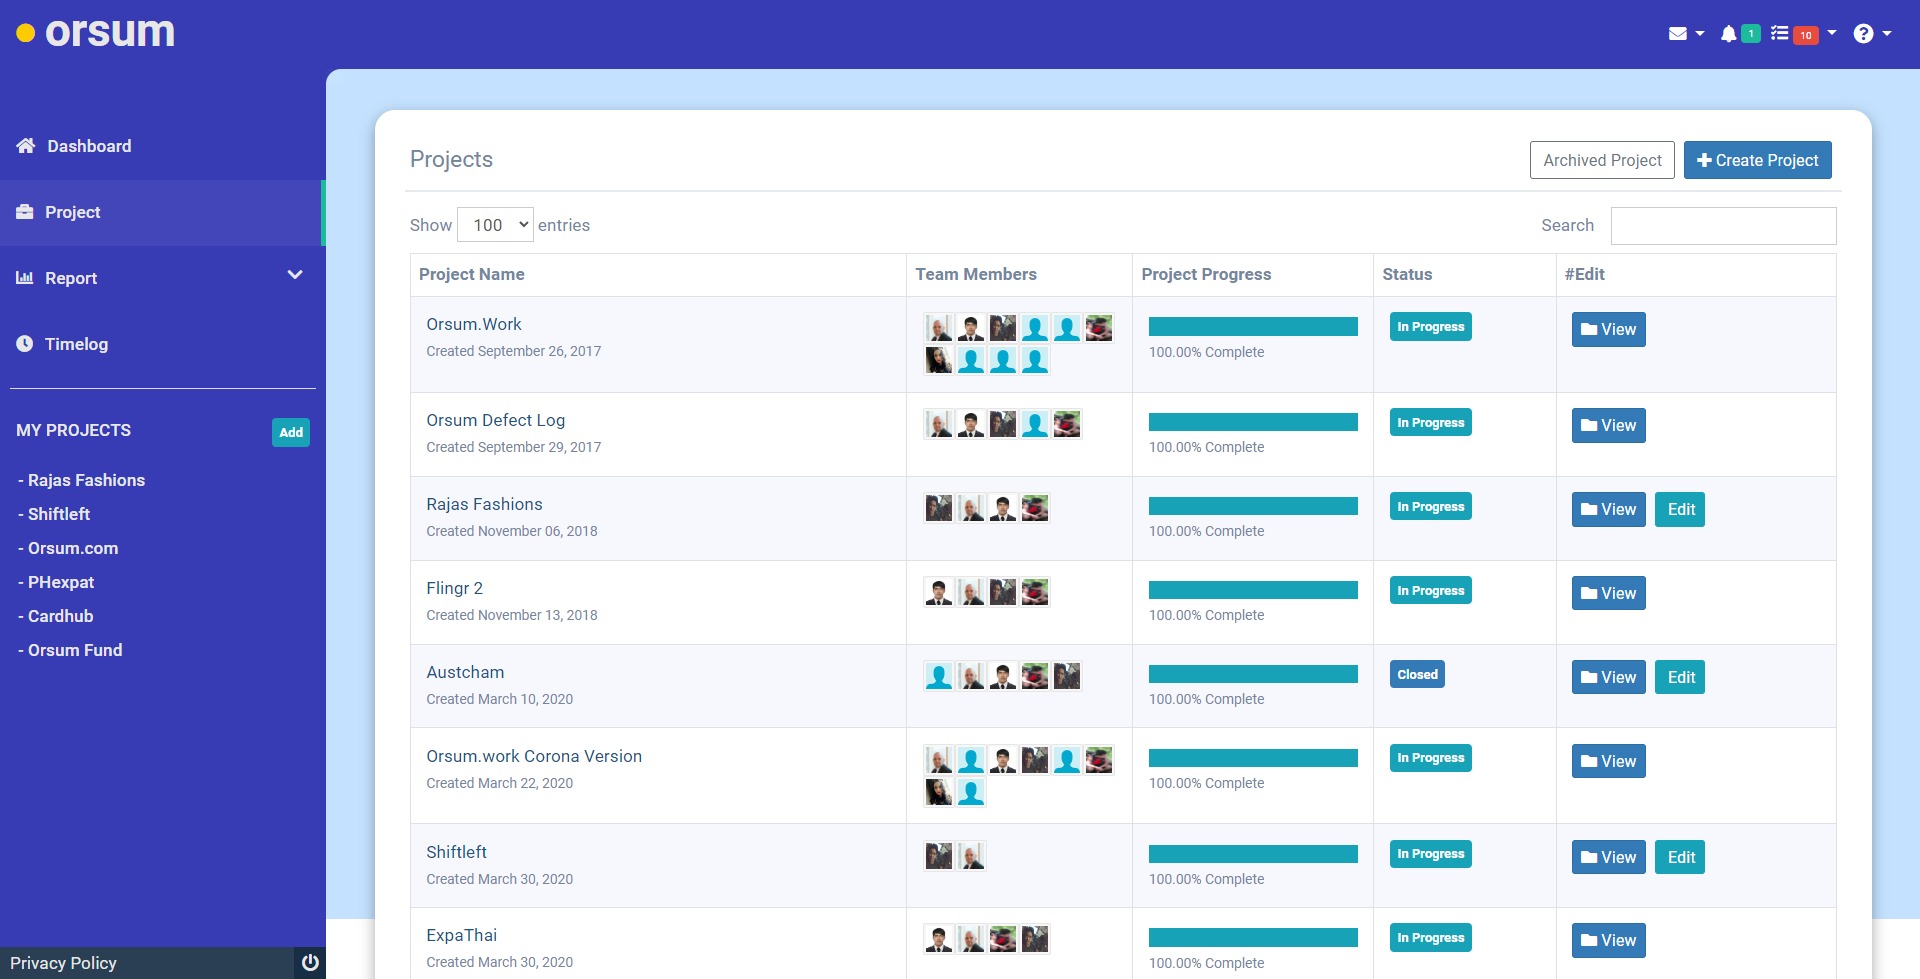
- First, click Project on the left sidebar. This will open the Projects screen. Here you will see all the projects in the organization. If you just created an organization, you will see nothing.
- Next, click the add button to add a project. You can only create projects for the organization that you belong to.
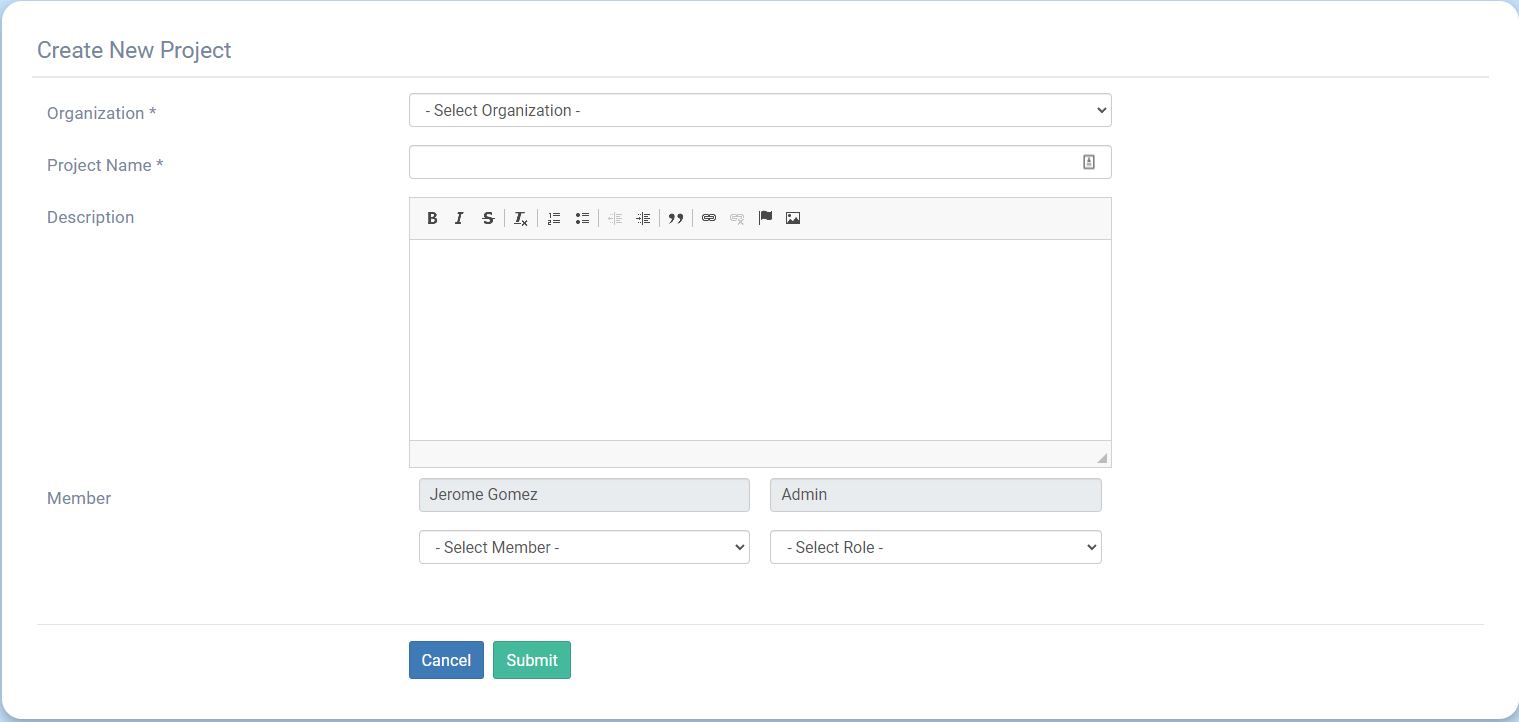
- Now input the Project Name and Description
- Next, add members to your project and assign them a role, either Admin or Normal. Here is where the different user rights come into play. Click the add button to add multiple members to your project
Once you have a project going, you’ll need to create tasks to get the job done. Creating tasks will be covered inside the tool. However, it’s important to understand the task workflow before getting started
- First, a task is created and assigned to a member of the project with a given start and completion date. A priority is also given to the task at its creation, either Low, Medium, or High.
- Next, the assigned member must accept or decline the task. If the task is accepted, the member will also need to give an estimate of how long the task will take. The assigned member can also suggest a new completion date, but this is optional. In any case, the task will now bounce back to the requesting member
- Now the requesting member can either accept the estimated time and completion date or reassign the task based on cost accounting or simple deadlines
- If the requesting member accepts the estimate and completion date, then the task can begin. Active tasks will show on your dashbaord.
As promised, here is a bit on reporting:
There are a variety of reporting options inside the tool that will allow you to see how your tasks and projects are progressing
You can quickly generate timesheets for yourself, members of a project, or your entire organization. You can also generate a timeline for your projects to ensure you stay on schedule.
Last, but not least, you can quickly generate the time-cost of a project in hours. These reporting tools and more will be covered in more detail once you log in. Just click Report inside the tool to start exploring
Enjoy Orsum.Work